Top Tools

Essential Self-Tape Equipment for High-Quality Auditions

By
Teleprompter Team
July 14, 2024
·
8
minutes
Essential Self-Tape Equipment for High-Quality Auditions

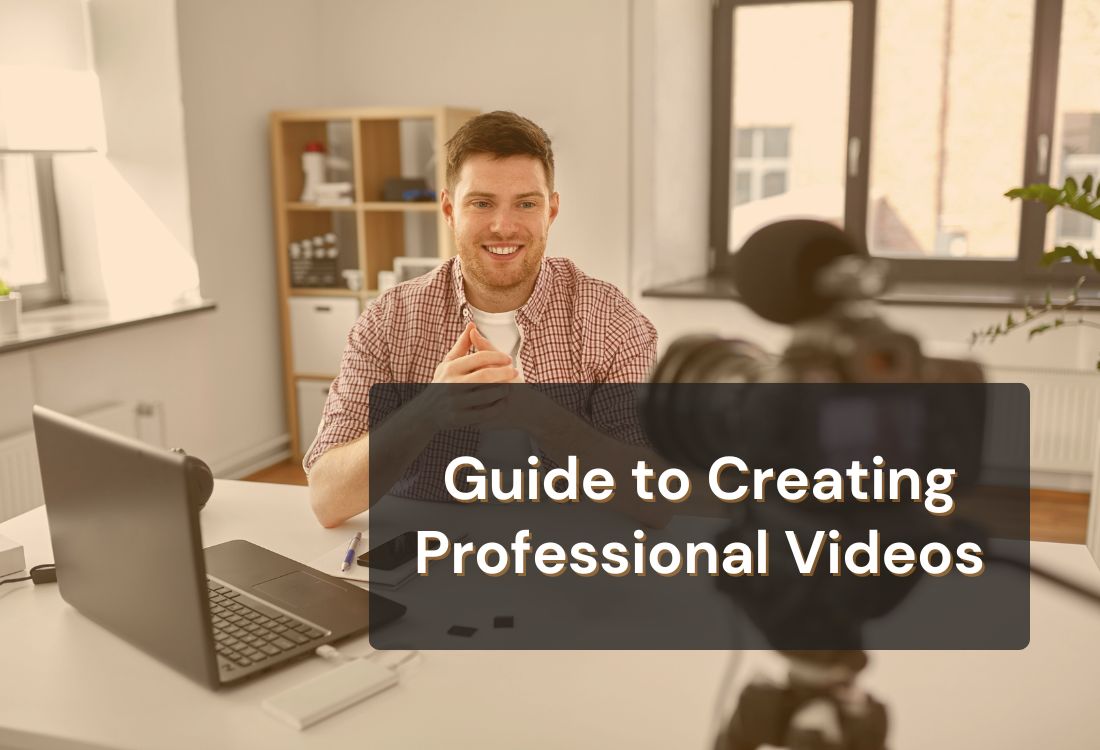
Self-tape auditions have become the norm in the acting world. With more and more auditions being remote, self-taping has become a must for actors of all levels. The importance of self-tape equipment can’t be stressed enough, it’s directly related to the quality and professionalism of your submission. A good self-tape can set you apart from the rest and increase your chances of getting the role. This article will walk you through the must-have self-taping equipment so you can level up your audition game.

The Essentials of Self-Tape Equipment

DSLR, iPhone, laptop

Camera Options

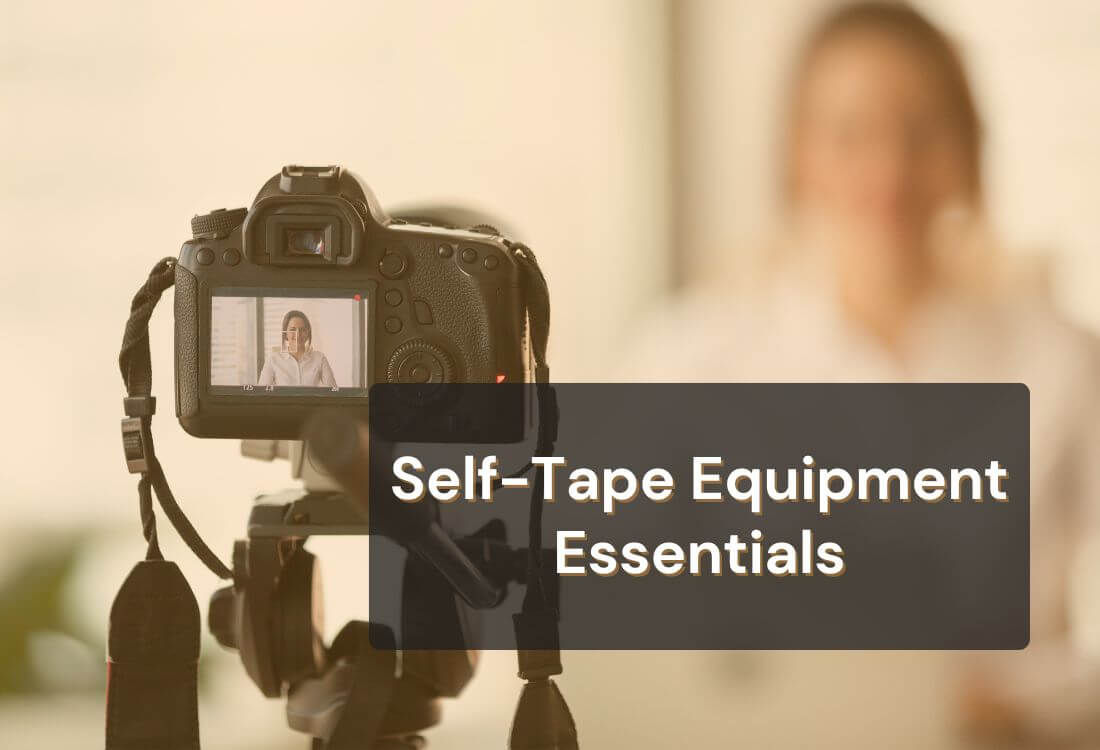
DSLRs and Mirrorless Cameras

DSLRs and mirrorless cameras are the usual choice for high-quality self-tape audition. They offer better video resolution, dynamic range and can change lenses which can make a huge difference in the visual of your audition. They can be a bit pricey but worth it if you’re serious about your acting career. Popular models are the Canon EOS Rebel T7 and the Sony Alpha a6400 both known for their great video capabilities.

Smartphones: Pros and Cons

Smartphones have changed the way actors self-tape. With the advancement of camera technology, many smartphones now have video quality similar to entry-level DSLRs. The convenience and accessibility of smartphones make them a great choice for quick and easy self-taping. But they have limitations, fixed lenses and less control over settings like exposure and focus. For the best results use a smartphone with high-resolution camera and additional accessories like external lenses and stabilizers.

Webcams: When and How to Use Them

Webcams are another option, especially for actors who do virtual auditions or callbacks frequently. Not recommended for primary self-tapes due to lower video quality but can be useful in certain situations. High-quality webcams like the Logitech C920 have decent resolution and can be a good choice when you need a quick setup. Make sure you have good lighting and stable internet connection to maximize the quality of your webcam recording.

Lighting for Self-Tapes

Types of Lighting: Key Lights, Fill Lights, and Backlights

Lighting is an importantl aspect of self-tape equipment that can dramatically affect the visual quality of your audition. There are three main types of lighting to consider: key lights, fill lights, and backlights. Key lights are the primary source of illumination and should be positioned to highlight your face evenly. Fill lights help reduce shadows created by the key light, ensuring a balanced look. Backlights separate you from the background, adding depth and dimension to your video.

Budget-Friendly Lighting Solutions

You don't need to break the bank to achieve professional lighting for your self-tapes. There are numerous budget-friendly options available that can deliver excellent results. Ring lights are a popular choice due to their affordability and ease of use. LED panel lights are also a great option, offering adjustable brightness and color temperature settings. For those on a tight budget, even natural light can be harnessed effectively with the right positioning and timing.

Sound Quality Matters

High-quality sound is just as important as high-quality video in your self-tapes. Clear and crisp audio ensures that casting directors can hear every word you say without distraction. Investing in good sound equipment can make a significant difference in the overall professionalism of your self-tapes. Let's explore the types of external microphones and their benefits, along with tips on how to position them for optimal sound capture.

placing Lavalier Microphone

External Microphones: Lavalier, Shotgun, and USB Mics

  1. Lavalier Microphones: Lavalier mics, or lapel mics, are small and easily attachable to your clothing, making them ideal for capturing clear audio without being intrusive. They are especially useful for self-tapes where you need to move around, as they remain close to your mouth and provide consistent sound quality.
  1. Shotgun Microphones: Shotgun mics are directional microphones that capture sound from a specific area while minimizing background noise. They are perfect for recording in controlled environments where you can direct the mic towards your voice. These microphones are typically mounted on a boom pole or a stand, allowing for precise positioning.
  1. USB Microphones: USB mics are versatile and easy to use, as they can be directly connected to your computer or recording device. They offer excellent sound quality and are a great choice for actors who need a quick and straightforward setup. USB microphones like the Blue Yeti and Audio-Technica AT2020USB+ are popular options among content creators and actors alike.

Positioning Your Microphone for Best Results

Here are some tips to help you position your microphone effectively:

  • Lavalier Microphones: Attach the mic to your clothing at chest level, about 6-8 inches below your chin. Ensure it is securely fastened to avoid rustling noises from movement.
  • Shotgun Microphones: Position the mic above your head, angled down towards your mouth, or just below the frame, angled up. This helps focus the sound capture on your voice while reducing background noise.
  • USB Microphones: Place the mic on a desk or stand, about 6-12 inches from your mouth. Use a pop filter to minimize plosive sounds and ensure consistent audio levels by maintaining a steady distance.

Affordable Microphone Options

You don't need to spend a fortune to get good sound quality for your self-tapes. Here are some affordable microphone options that deliver excellent performance without breaking the bank:

  • Lavalier Microphones: Rode SmartLav+, Movo LV1
  • Shotgun Microphones: Rode VideoMic GO, Deity V-Mic D3
  • USB Microphones: Blue Snowball iCE, FIFINE K669B

Backdrops and Sets

Backdrops and Sets for self-tape audition

A clean and appropriate backdrop ensures that the focus remains on your performance, not on distractions in the background. Here are some tips for choosing and setting up the perfect backdrop for your self-tapes.

Choosing the Right Backdrop Color

Neutral colors like blue, gray, or beige are often recommended as they provide a clean and professional appearance without overwhelming the frame. Avoid bright or distracting colors that can draw attention away from your performance. Additionally, ensure that your clothing contrasts with the backdrop to avoid blending in.

DIY Backdrops vs. Professional Backdrop Kits

  • DIY Backdrops: If you're on a budget, creating a DIY backdrop can be a cost-effective solution. Simple options include using a plain sheet, curtain, or a large piece of fabric hung on a wall. Ensure that the material is wrinkle-free and smoothly draped to avoid distractions.
  • Professional Backdrop Kits: For a more polished look, consider investing in a professional backdrop kit. These kits typically include a stand and various backdrop options, making it easy to set up and change backdrops as needed. Brands like Neewer and LimoStudio offer affordable kits that are easy to assemble and provide a professional finish.

Tripods and Mounts

Stability is crucial for self-tapes, and having the right tripod or mount can make all the difference. A stable setup ensures that your camera remains steady, allowing you to focus on delivering your best performance without worrying about shaky footage. Here are the different types of tripods and mounts available and how to set them up for optimal results.

Types of Tripods: Tabletop, Full-Size, and Flexible Tripods

  • Tabletop Tripods: These compact tripods are perfect for small spaces or when you're filming at a desk or table. They are lightweight and easy to transport, making them ideal for on-the-go actors. Popular options include the Joby GorillaPod and the Manfrotto PIXI Mini.
  • Full-Size Tripods: Full-size tripods provide maximum stability and are suitable for filming at various heights. They are adjustable and offer a range of features, such as pan and tilt heads for smooth camera movements. Models like the AmazonBasics 60-Inch Lightweight Tripod and the Neewer Portable 70-Inch Tripod are excellent choices.
  • Flexible Tripods: Flexible tripods, like the Joby GorillaPod, are versatile and can be wrapped around objects or adjusted to uneven surfaces. They are perfect for unconventional filming locations where a standard tripod might not be practical.

Best Practices for Setting Up Your Tripod

  1. Stability: Ensure your tripod is placed on a flat and stable surface to prevent any wobbling.
  2. Height: Position the tripod so that the camera is at eye level, creating a natural and engaging angle for your self-tape.
  3. Balance: Adjust the tripod legs to keep the camera balanced, especially if you're using a heavier DSLR or mirrorless camera.
  4. Secure Mounting: Make sure the camera is securely attached to the tripod mount to avoid any accidental drops.

Alternatives to Traditional Tripods

If you don't have access to a traditional tripod, there are several alternatives you can use to stabilize your camera:

  • Stacked Books: Create a makeshift tripod by stacking books to the desired height and placing your camera or smartphone on top.
  • Furniture: Use stable furniture, such as a shelf or cabinet, to hold your camera at the right height.
  • Clamps and Mounts: Use clamps or mounts designed for smartphones and cameras to attach your device to stable surfaces like desks or chairs.

Editing and Submitting Your Self-Tape

video editing

Editing your self-tape is an essential step to ensure it looks polished and professional. Here are some essential tools and tips to streamline the editing and submission process.

Essential Editing Software and Apps

  • iMovie (Mac/iOS): A user-friendly editing app that offers all the basic tools you need to trim, cut, and add transitions to your self-tape.
  • Adobe Premiere Pro (Windows/Mac): A professional-grade editing software with advanced features for more complex editing tasks.
  • DaVinci Resolve (Windows/Mac): A powerful free editing software that provides professional editing tools and color correction capabilities.

Tips for a Seamless Editing Process

  1. Organize Your Footage: Label and organize your clips to make the editing process more efficient.
  2. Trim Excess Footage: Cut any unnecessary parts at the beginning and end of your clips to keep your self-tape concise.
  3. Smooth Transitions: Use simple transitions, such as cuts or fades, to maintain a professional look without distracting from your performance.
  4. Adjust Audio Levels: Ensure your audio is clear and consistent by adjusting the volume and using noise reduction tools if necessary.

Final Thoughts

You need to be able to self-tape for auditions these days and having the right self-taping equipment can make all the difference to the quality and professionalism of your performance. From choosing the best camera and lighting setup to making sure the sound is clear with the right microphones, every piece of equipment counts when it comes to a self-tape.

Investing in good gear not only increases your chances of booking jobs but shows casting directors you are serious about your craft. And consider using a teleprompter app in your self-taping process. A teleprompter app will help you deliver your lines smoothly and confidently so you can focus on your performance, not memorization. 

This is especially useful for long or complicated scripts so you stay on track and deliver your best take every time. Sign up with Teleprompter.com and enjoy a free trial to experience the difference a teleprompter app can make in your auditions. 

With the right tools and techniques, you can create professional self-tapes that showcase your talent and leave a lasting impression on casting directors.

Recording videos is hard. Try Teleprompter.com

Recording videos without a teleprompter is like sailing without a compass.

Get Started for free
App store badge

Since 2018 we’ve helped 1M+ creators smoothly record 17,000,000+ videos

Effortlessly record videos and reduce your anxiety so you can level up the quality of your content creation

App store badge