Adding subtitles is available on the iOS and macOS versions
Want to make your videos more accessible, polished, or social media–ready? Teleprompter.com lets you generate and customize subtitles automatically, giving your content a professional touch and enhancing its reach.
Here's how to add subtitles:
- Open the Teleprompter.com app on your iOS or macOS device
- Go to the Recordings section (where your saved videos are stored)
- Tap on the video you want to edit
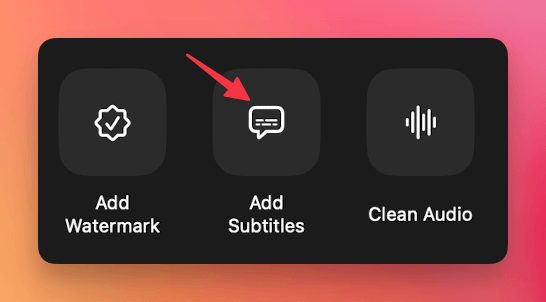
- In the editing options, tap Add Subtitles

- Choose the language spoken in your video

- Keep the app open while the subtitles are being generated (this may take a few moments depending on the video length)
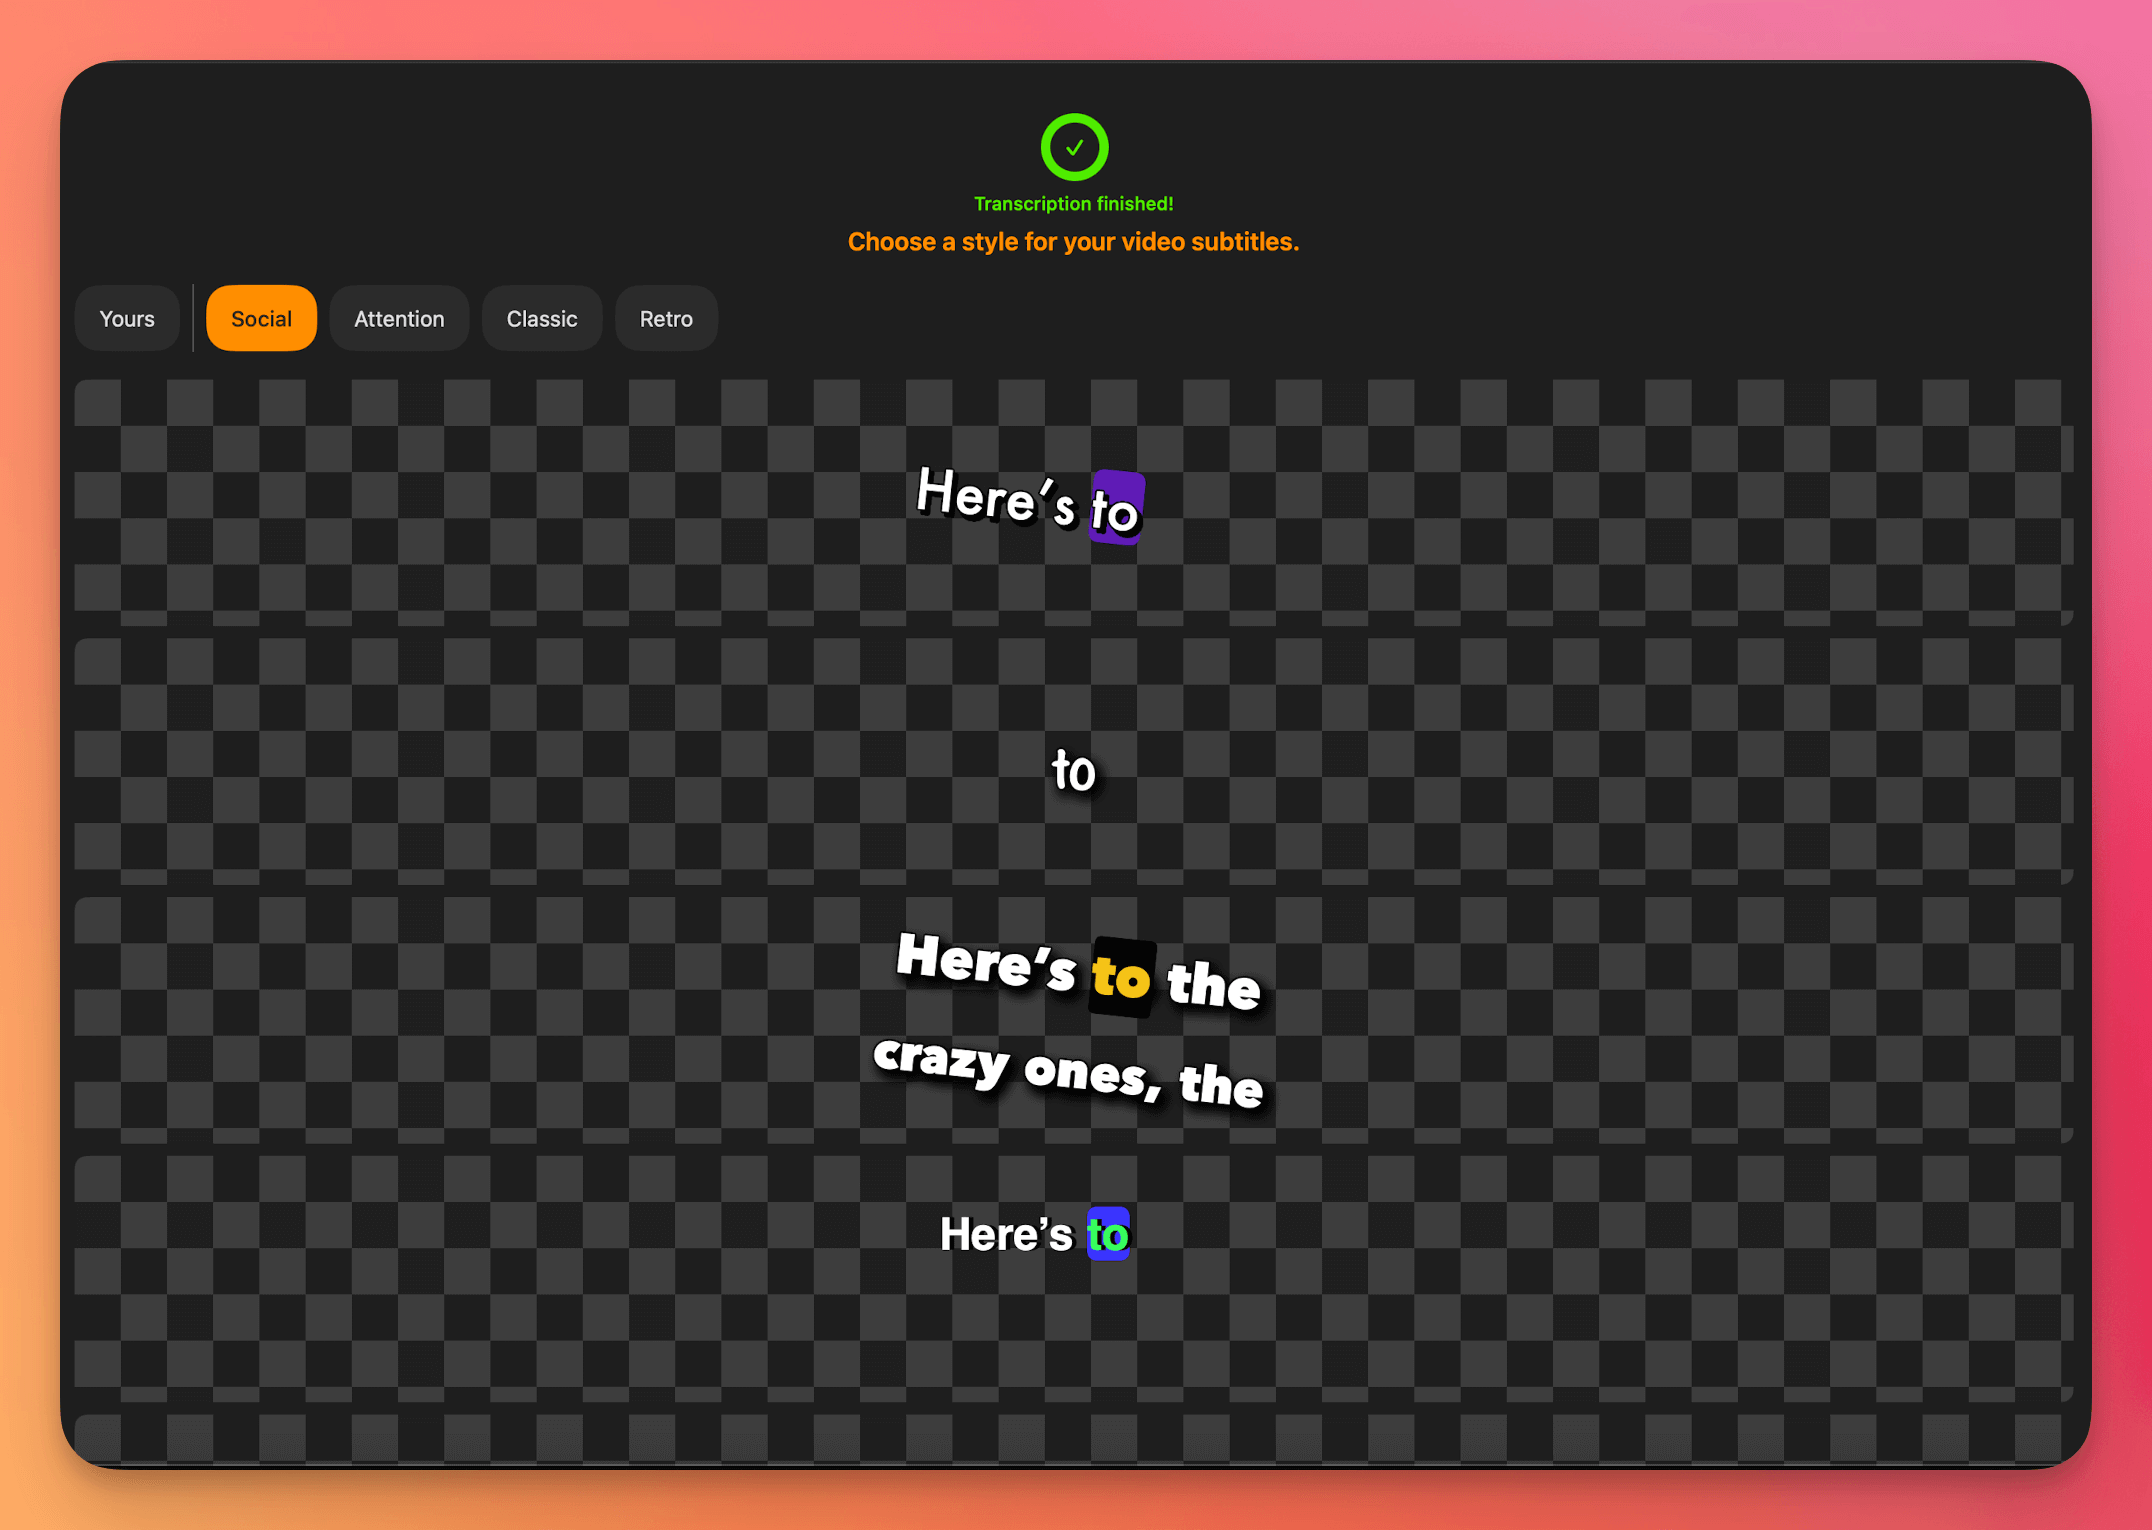
- Once the subtitle generation is complete, a new screen will appear allowing you to review and edit them before finalizing (you can also choose a style).

Editing Your Subtitles
To edit your subtitles after they’ve been added:
- Tap the video again
- Tap on the Brush icon located in the bottom-right corner of the screen

From there, you can customize:
- Number of lines and words per line
- Subtitle position
- Active word highlighting
- Emphasize a word
- Subtitle components (such as speaker labels or timing elements)
- Background style and color
- Font type, text alignment, and attributes
- Shadow and outline effects
- Capitalization options
- Transition target and background transitions
These options give you full creative control over how your subtitles appear and behave.
Using a Subtitle Template
Want to reuse your styling across multiple videos?
- Tap the template icon (located next to the Brush icon)
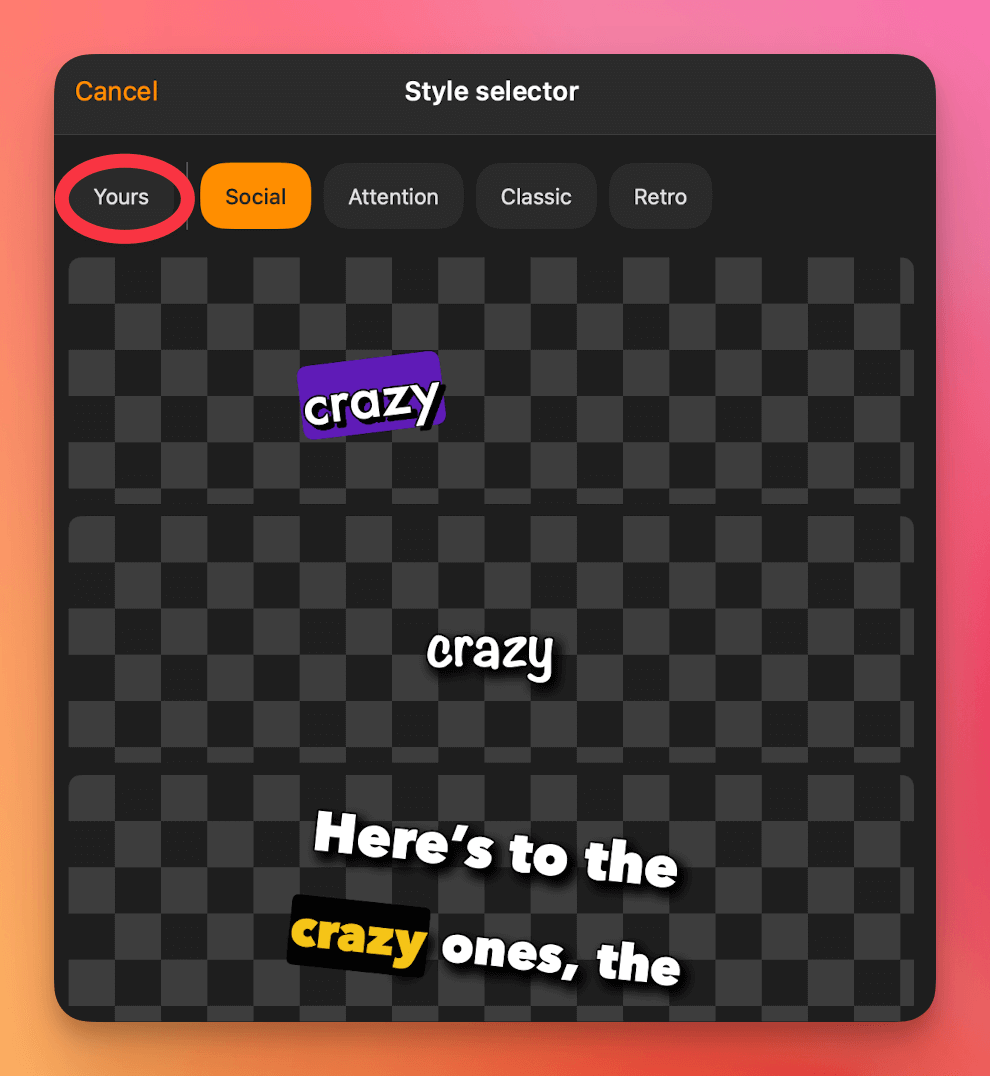
- Select the “YOURS” tab

- Tap on your saved subtitle template to apply it instantly to your current project
This is a great way to keep your branding or visual style consistent across all your content.
When you're finished customizing, be sure to save your changes. Your video will now include fully styled, accurate subtitles—making it more professional, accessible, and ready for any platform.


