DIY iPad Teleprompter Kit: Building Your Own on a Budget
By
Teleprompter.com team
Published on:
June 2, 2024
7
minutes
TL;DR:
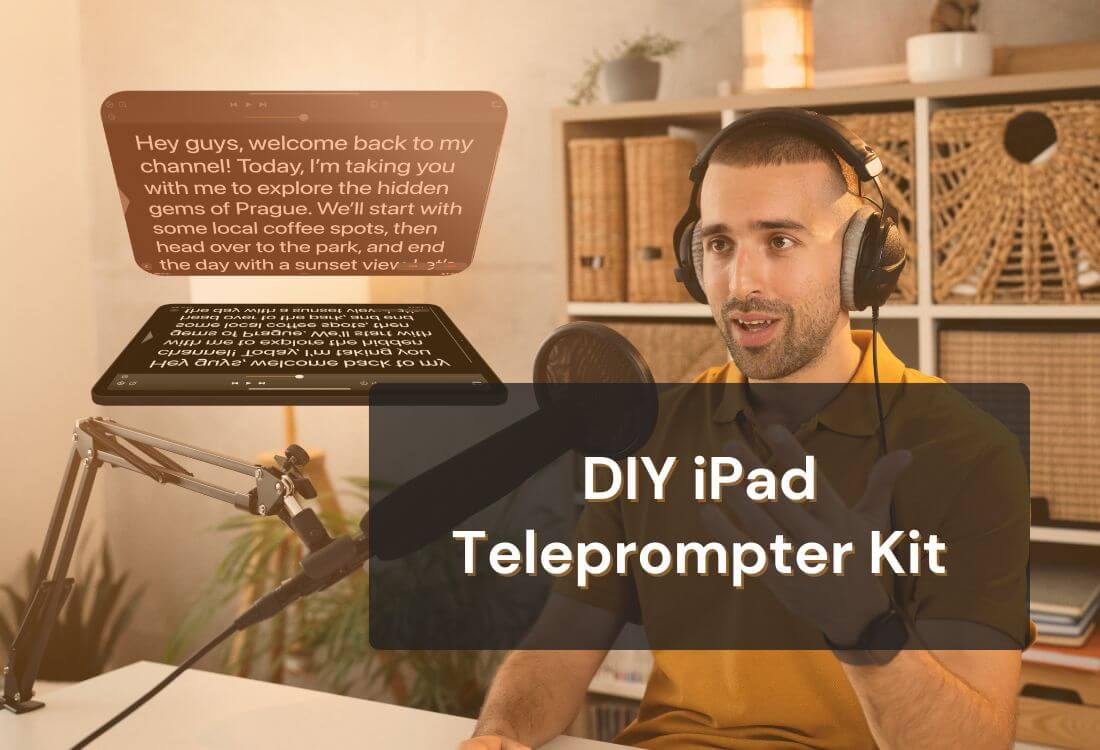
Gone are the days when teleprompters were bulky, expensive pieces of equipment reserved for newsrooms and professional studios. With the advent of tablet technology, specifically the iPad, creating a portable, affordable, and highly functional teleprompter has become a reality. This article will guide you through building your own iPad teleprompter kit, ensuring your presentations are smooth and professional while keeping costs to a minimum.
Here’s how you can leverage your iPad to create a teleprompter setup that rivals professional equipment.
What You Need in an iPad Teleprompter Kit
To assemble a basic yet effective teleprompter kit, you'll need:
An iPad: The heart of your teleprompter, where your script will be displayed.
Reflective Glass: This is what will reflect your script so you can read it while looking at the camera. A piece of beam splitter glass is ideal, but in a pinch, any highly transparent, reflective glass will do.
A Frame: To hold your iPad and the glass in place. This can be made from various materials, including wood, plastic, or even cardboard for those on a tight budget.
Black Cloth: To cover the back of your teleprompter, preventing light from coming through and making it easier to read the text.
Teleprompter App: There are several apps available designed specifically for use with a teleprompter. Some are free, while others come with a small fee.
Advantages of a DIY Approach
Opting to build your own iPad teleprompter kit comes with a host of benefits:
Cost-Effectiveness: Commercial teleprompters can be expensive, but a DIY version can be assembled for a fraction of the cost.
Customization: When you build it yourself, you can customize your teleprompter to fit your specific needs and preferences.
Satisfaction: There's a unique satisfaction that comes with building something with your own hands, especially when it significantly improves your work.
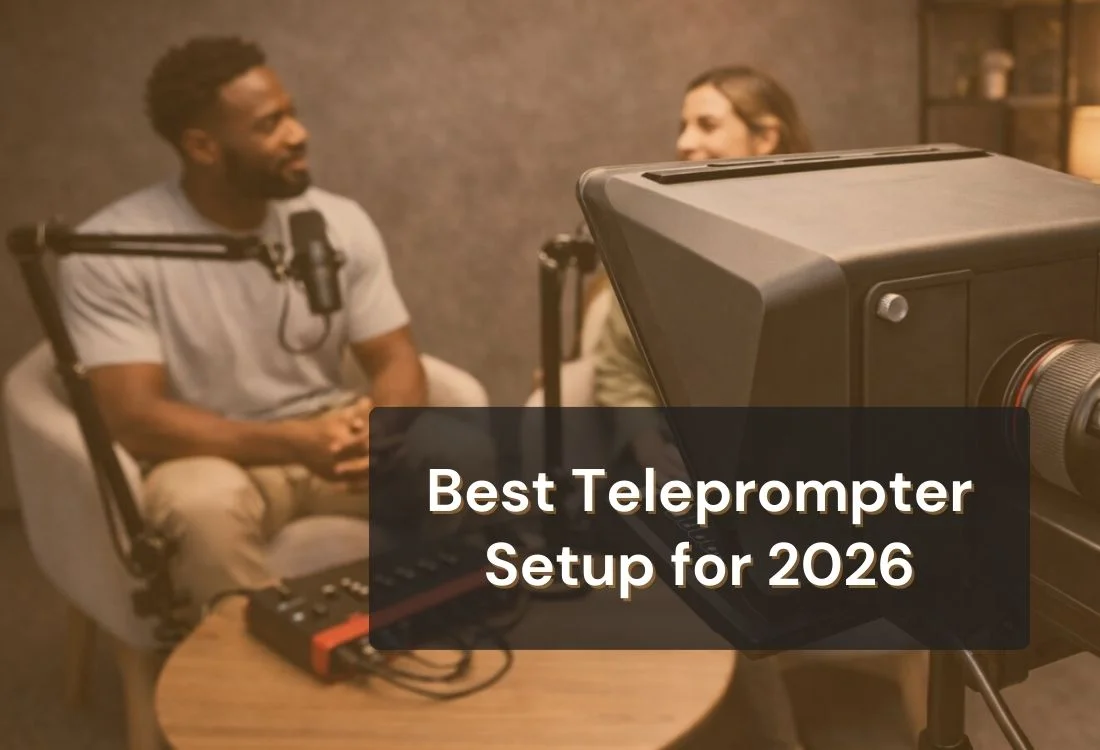
If you’re weighing a DIY kit against purpose-built options, it helps to understand how different devices compare. For example, dedicated gear like the Elgato Prompter and phone-mounted setups each offer unique strengths that might align better with your needs than a custom build.
Gathering Your Materials
The first step in creating your iPad teleprompter kit is to gather all the necessary materials. This process can be surprisingly simple and affordable, with many items possibly already available at home or easily sourced from local stores or online.
Required Materials List
Here's what you'll need to begin your project:
iPad: Any model will do, as long as it can run a teleprompter app.
Beam Splitter Glass: Size depends on your frame and iPad size; typically, a 12"x12" piece is sufficient for most setups.
Frame Material: Wood, PVC pipes, or even sturdy cardboard for the frame.
Black Cloth: Enough to cover the back and sides of your frame, enhancing visibility.
Screws, Glue, or Tape: Depending on your frame material and design choice.
Teleprompter App: Choose one that suits your budget and feature preferences.
Finding Affordable Materials
To keep costs low:
Check Online Marketplaces: Sites like eBay or Craigslist can be goldmines for finding second-hand or surplus materials.
Visit Local Hardware Stores: They often have off-cuts or remnants of wood and glass that you can purchase at a discount.
DIY or Craft Stores: Look for affordable frame solutions that can be adapted for your teleprompter kit.
Designing Your Teleprompter
With all your materials at hand, the next step is to design your iPad teleprompter kit. This stage is important, as a well-thought-out design ensures that your teleprompter will be both functional and durable.
Blueprints and Measurements
Start by sketching a simple design of your teleprompter. Your design should include:
A slot or stand for the iPad: This will hold your iPad in place behind the glass.
An angle for the reflective glass: Typically, the glass is positioned at a 45-degree angle to reflect the text to the speaker while allowing the camera to shoot through it without capturing the reflected text.
A method to secure the frame: Whether you're using screws for a wooden frame or glue for a cardboard design, ensure your structure will be sturdy.
Measure twice and cut once. Accuracy in your measurements will save you time and materials in the long run.
Customizing the Design for Your Needs
Consider the following to tailor your design:
Portability: If you'll be moving your teleprompter, consider a design that's lightweight or collapsible.
Size of Your iPad: Make sure the slot or stand you design fits your iPad model snugly.
Viewing Distance: Adjust the size of your reflective glass and the font size on your teleprompter app according to how far you'll be from the teleprompter during use.
Step-by-Step Assembly Instructions
With your design finalized, it's time to put everything together. Follow these steps to assemble your iPad teleprompter kit:
Build the Frame: Using your chosen material, cut and assemble the frame according to your design. Ensure it's sturdy and stable.
Install the Reflective Glass: Securely mount the glass at a 45-degree angle. If you're using wood, grooves can be cut to slot the glass in place. For cardboard designs, duct tape or hot glue can hold the glass securely.
Create a Slot for Your iPad: Ensure the slot or stand you create for the iPad is secure and positioned so the display fully reflects on the glass.
Attach the Black Cloth: Cover the back and sides of your teleprompter with black cloth. This blocks out light, making the text on the glass easier to read. Velcro strips can be a good solution for attaching the cloth, allowing easy removal and adjustment.
Test Your Setup: Before finalizing everything, do a test run. Place your iPad in the slot, turn on your teleprompter app, and see how the text appears on the glass. Adjust the angle of the glass or the position of the iPad as necessary.
Setting Up and Using Your iPad Teleprompter
With your iPad teleprompter kit assembled, it's time to put it to use. Here are some tips for setting up and optimizing your new tool:
Choosing the Right Teleprompter App
Your iPad teleprompter kit is only as effective as the app that powers it. To get the smoothest script-reading experience, look for an app with these key features:
Simple Script Importing You shouldn’t have to wrestle with file formats. Choose an app that lets you copy-paste, upload, or sync your script from cloud services with minimal hassle.
Adjustable Scrolling Speed Your delivery should match your natural speaking rhythm. The ability to fine-tune scroll speed ensures your speech flows smoothly—without sounding robotic or rushed.
Remote Control Compatibility A remote lets you start, stop, or adjust the scroll speed without touching your iPad. This keeps your hands off the screen and your focus on the camera.
Top Pick: Teleprompter.com App For a budget-friendly setup, the Teleprompter.com app checks all the boxes. It’s intuitive, packed with features, and trusted by beginners and pros alike. Download it today and bring polish to your DIY teleprompter setup.
Adjusting Settings for Optimal Performance
Brightness: Adjust your iPad's brightness so the text is clear on the reflective glass but not too bright to cause glare.
Font size and color: Find a comfortable font size and color that make the text easy to read from your speaking distance.
Practical Usage Tips
Practice: Spend time practicing with your teleprompter to become comfortable with reading from it while maintaining natural eye contact with the camera.
Positioning: Experiment with the positioning of your camera and teleprompter to find the best angle that allows you to look directly at your audience through the lens.
Enhancements and Customizations
Once you've mastered the basics of using your iPad teleprompter kit, you might start thinking about ways to further enhance its functionality. Here are a few suggestions:
Adding Remote Control Functionality
Integrating a remote control allows you to manage your presentation flow seamlessly, adjusting the scrolling speed or pausing the script as needed without touching the iPad. Many teleprompter apps support Bluetooth remotes, which can be an invaluable addition to your setup.
Upgrading Your Teleprompter Kit
As you become more adept at using your teleprompter, consider upgrades such as:
Better Quality Glass: Investing in higher quality beam splitter glass can improve the clarity and readability of your script.
Enhanced Lighting: Proper lighting is crucial in video production. Consider adding LED lights to your setup to ensure you're well-lit, making your footage look professional.
Microphone Integration: If you're using your teleprompter for video production, incorporating a microphone into your setup can significantly improve audio quality. Positioning a lapel mic or a shotgun mic correctly can make your voice clear and crisp.
Putting It All Together
Your journey to building and optimizing your iPad teleprompter kit is a testament to the power of creativity and resourcefulness. Not only have you created a tool that enhances your ability to communicate effectively, but you've also tailored it to your specific needs and preferences, something off-the-shelf products rarely offer.
With your DIY iPad teleprompter kit by your side, you're now equipped to deliver presentations, speeches, and videos with greater confidence and professionalism. The impact of your words is magnified when your delivery is polished and your eye contact is unwavering—qualities that your teleprompter directly supports.
Recording videos is hard. Try
Teleprompter.com
Recording a video without a teleprompter is like sailing without a compass.